Overview
Projects can be added by an organization's administrator to a station, group, or department level, or across the station group.
View projects
- Navigate to Settings > Projects.
- The Projects page displays the following.
- List of groups and stations
- Each project name
- Each project's visibility setting (public or private)
- Public: The contents of the project is visible to the entire organization.
- A public project (folder) can be specified, as set in Home > Administration > Organization Settings > Automatically store Getty images to a project
- Private: The contents of the project are visible to only those who are granted access to the project.
- Public: The contents of the project is visible to the entire organization.
Change the visibility setting of a project folder's
To make a project folder's visibility public:
- Navigate to: Home > Administration > Organization Settings
- Locate the project.
- Change the visibility setting as needed.
- Public: The contents of the project are visible to the entire organization.
- Private: The contents of the project are visible to only those who are granted access to the project.
Automatically store Getty images to a project
To receive a copy of any Getty Editorial image that is downloaded either in News or Track, with metadata:
- Locate the project.
- Select Automatically store Getty images to a project.
Add, edit, or remove a project
- Navigate to the organization hierarchy
- Select the top-level station group, station, or department to view.
- A list of associated Projects is displayed.
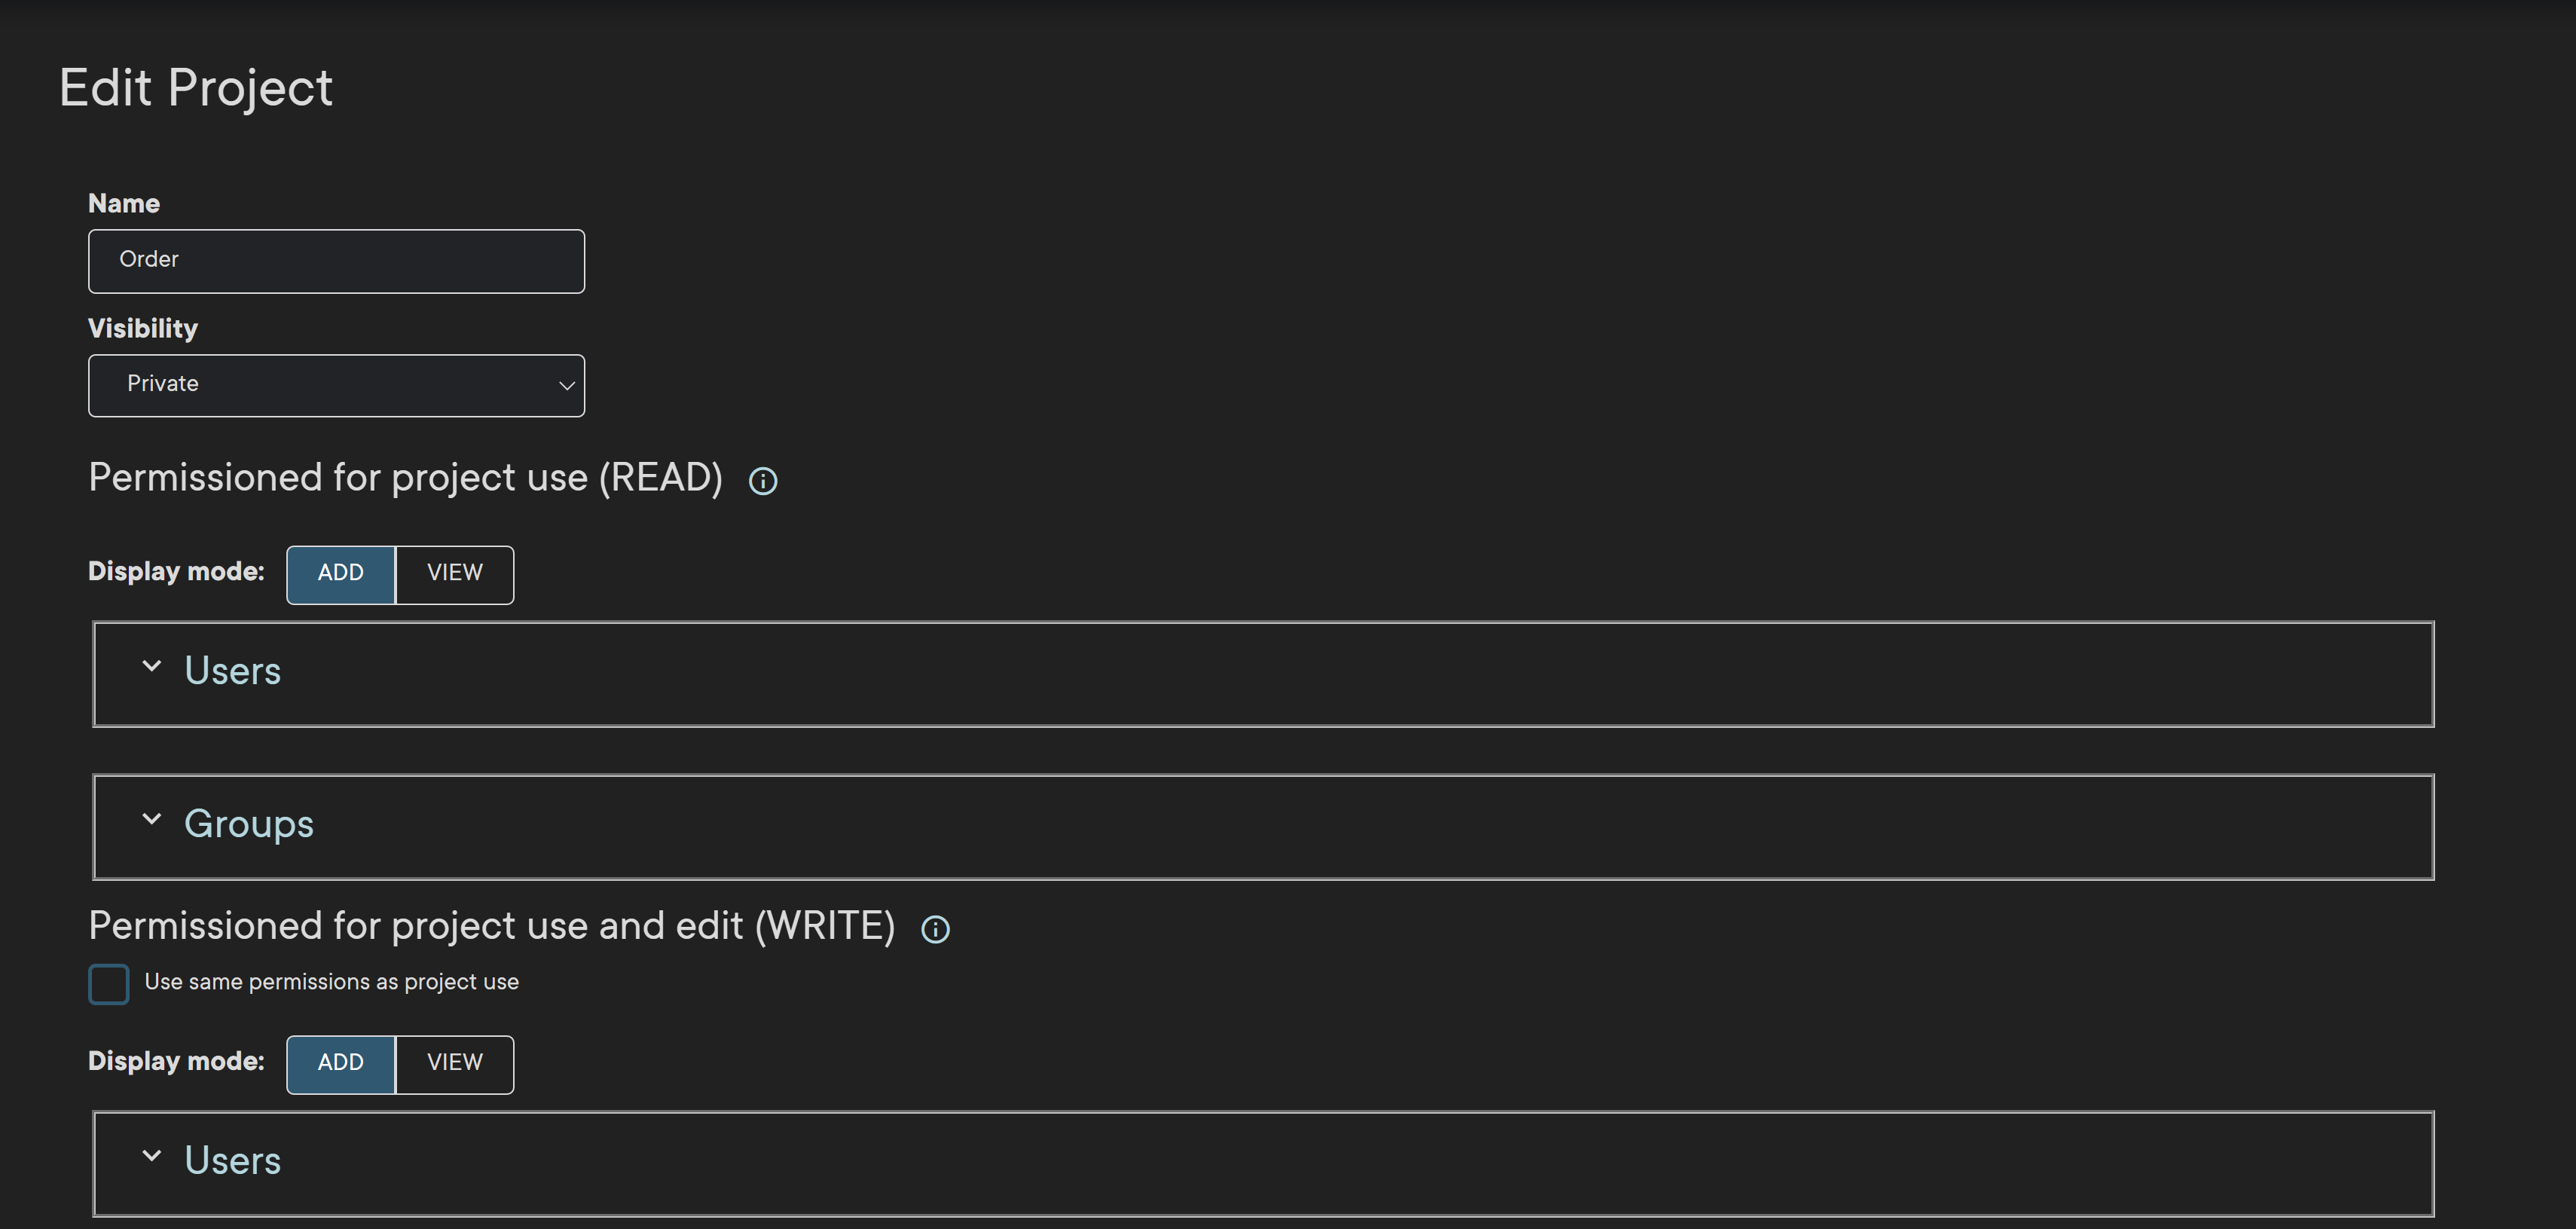
- Click on a project to view.
- Click the expand arrow next to any project to see corresponding users and groups.
- There are two display modes:
- Add: This mode allows the editing the member list for the project's users and groups
- View: This mode allows the details project list to be viewed and
- Click the Delete icon to remove for users or groups from a project.

Create a project
To create a Project:
- Navigate to the Organization list.
- Select the station group.
- Note: In the image shown, the station group is "Demo", the station or the department that will contain the project.
- Click Create Project.
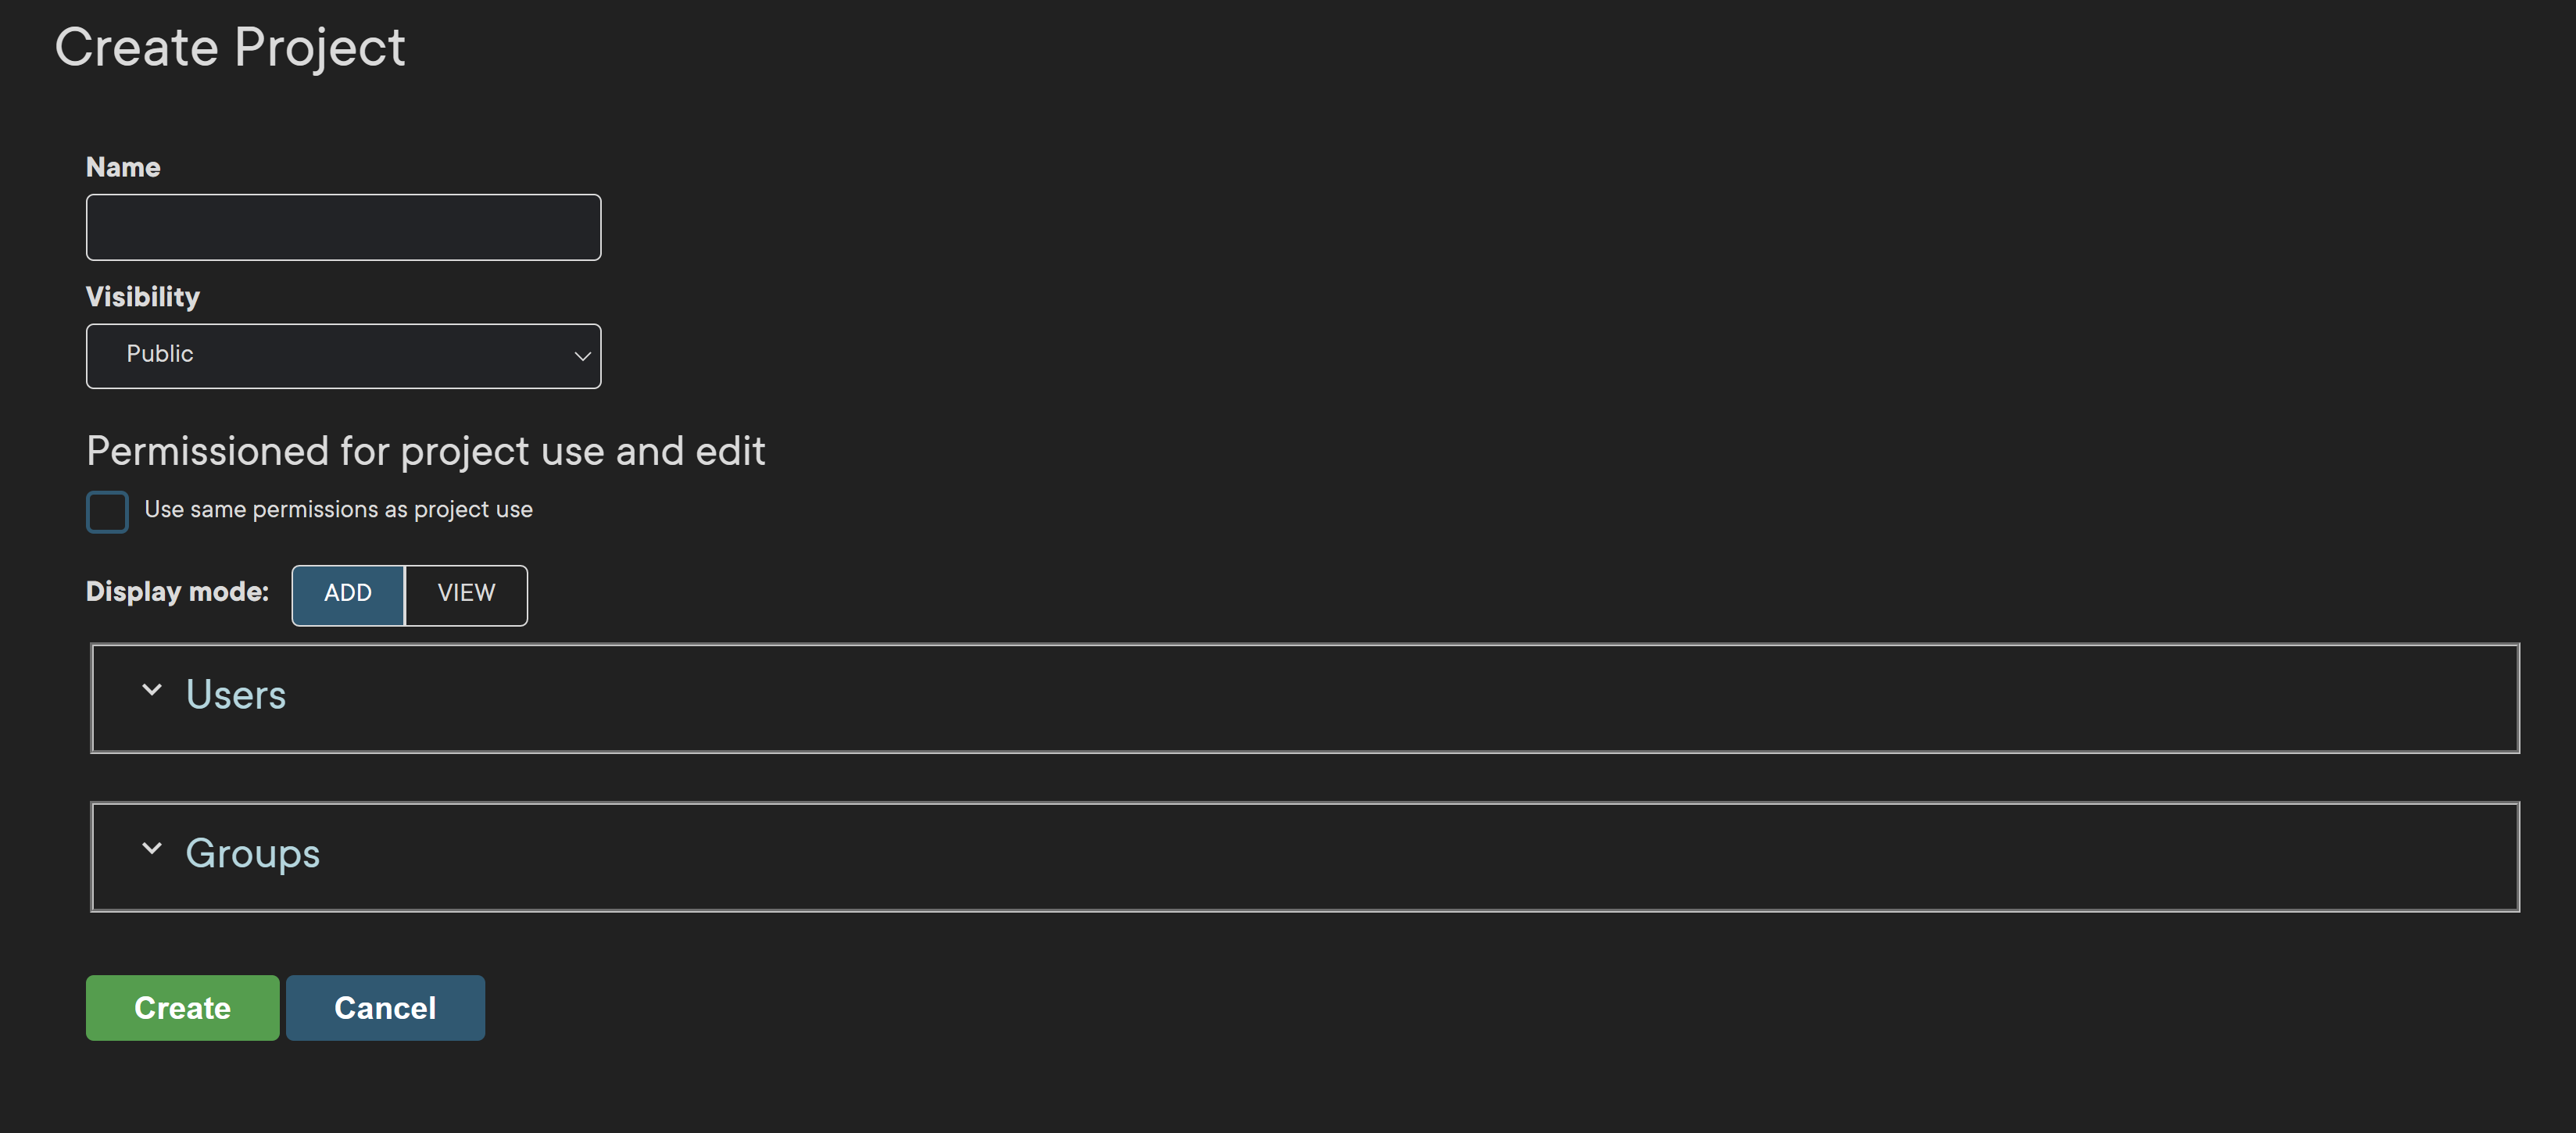
- The Create Project dialog opens.
- In the Name field, enter a name for the project.
- In the Visibility menu, select Public or Private.
- If needed, click the Use same permissions as project checkbox to inherit permissions.


Add users to a project
To add one or more individual users to the project:
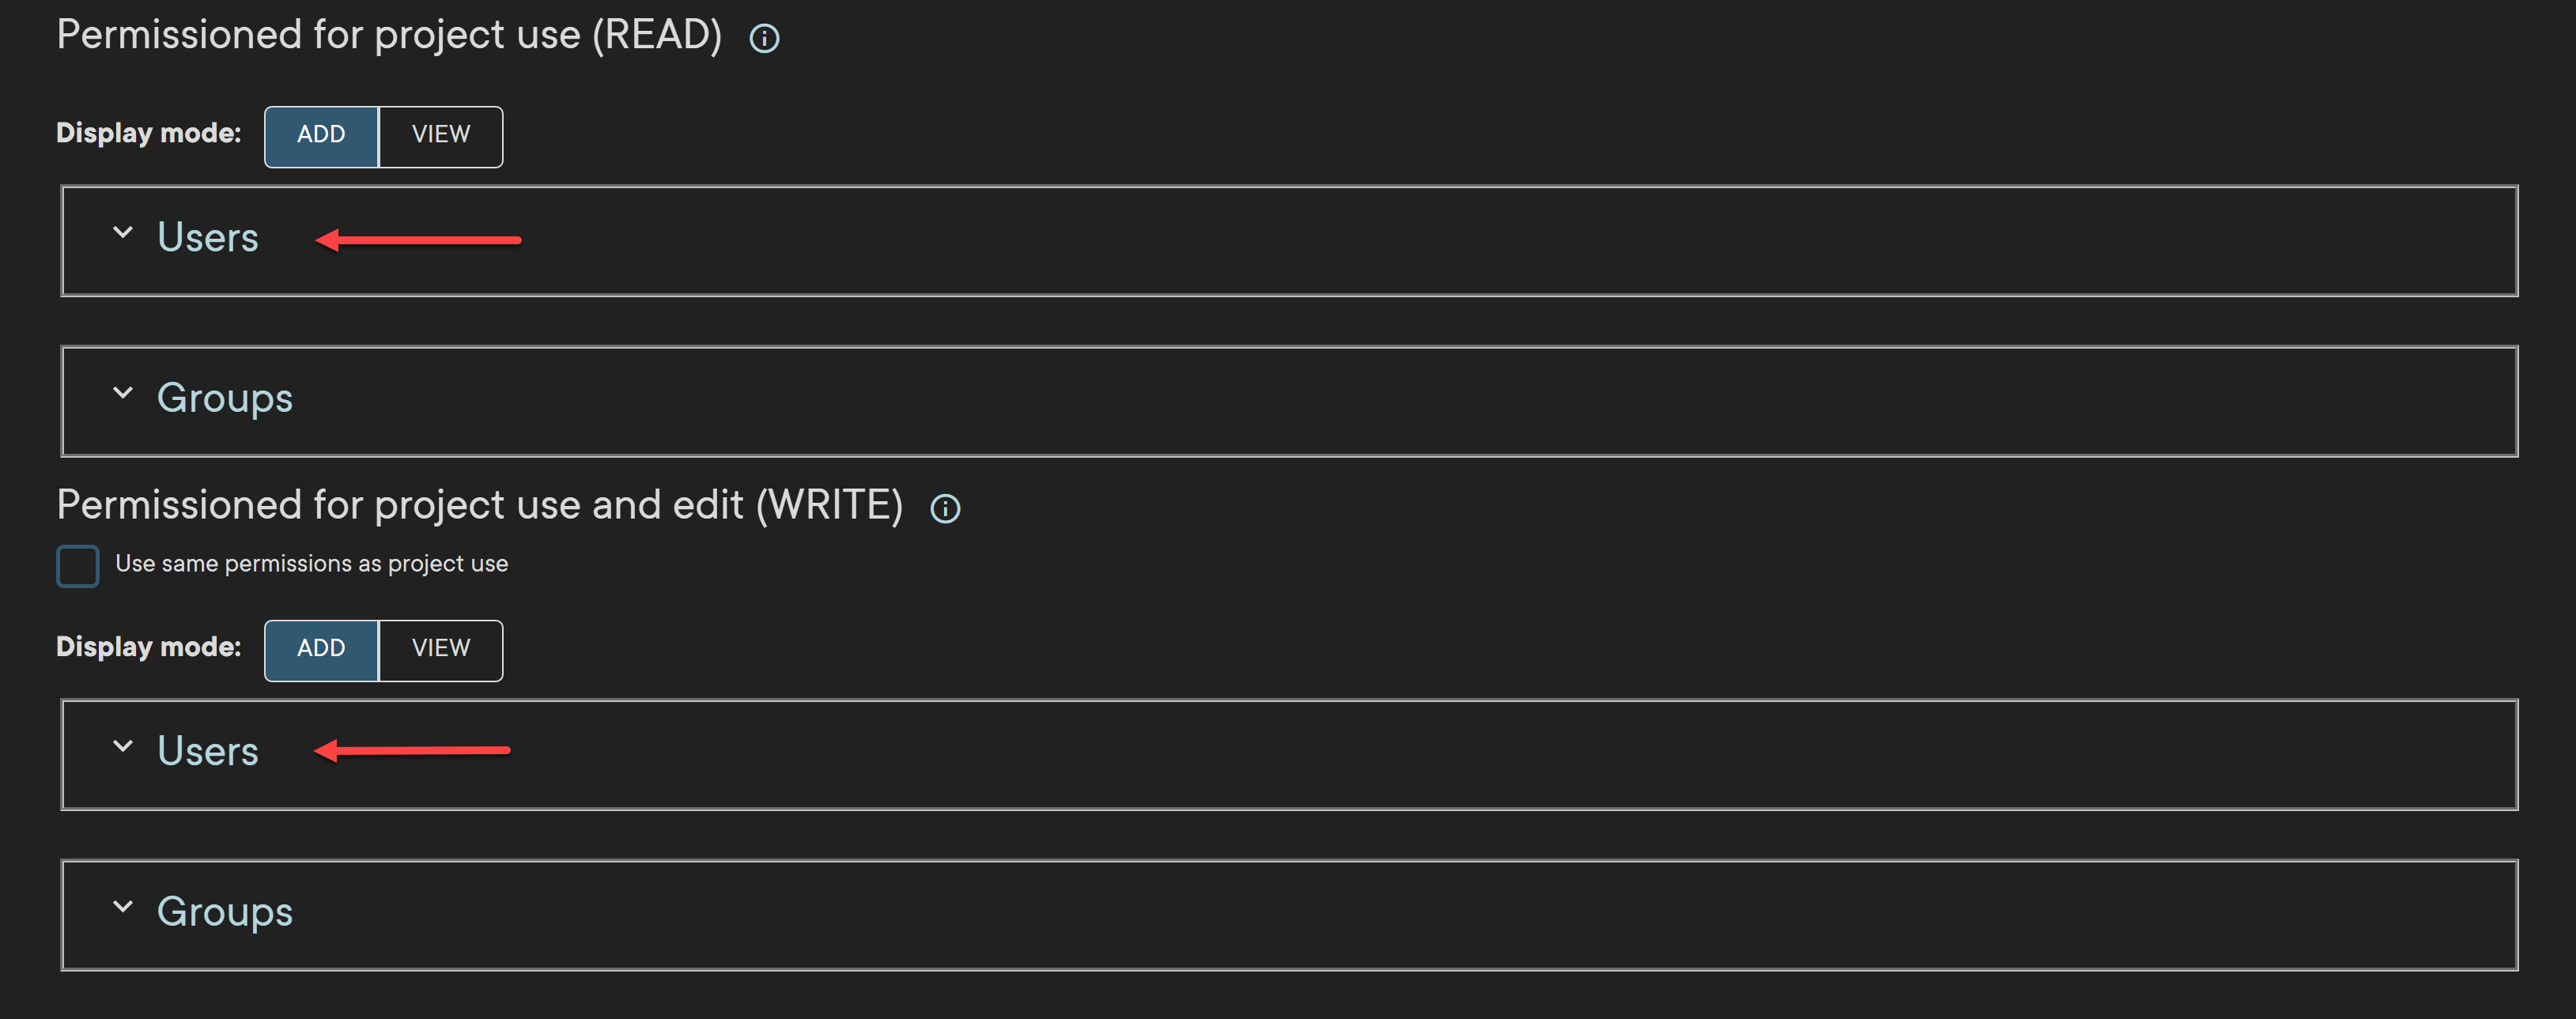
- Click the down arrow to the left of Users.
- The User Permission screen displays.
- In the list of names, click the checkbox to add users to the project.
- To select all in the list, click the checkbox above the Select column heading.
- To add users from other stations/departments, repeat steps 2 and 3 as needed.
- To clear all checkboxes in the list, click the Clear all button.


Add groups to a project
To add one or more user groups to the project:
- Click the down arrow to the left of Groups.
- The Organization list displays.
- Select the station group, the station, or the department in which the project will reside.
- In the list of names, click the checkboxes to add users to the project.
- To select all in the list, click the checkbox above the Select column heading.
- To clear all checkboxes in the list, click the Clear all button.